For this workflow you will require:
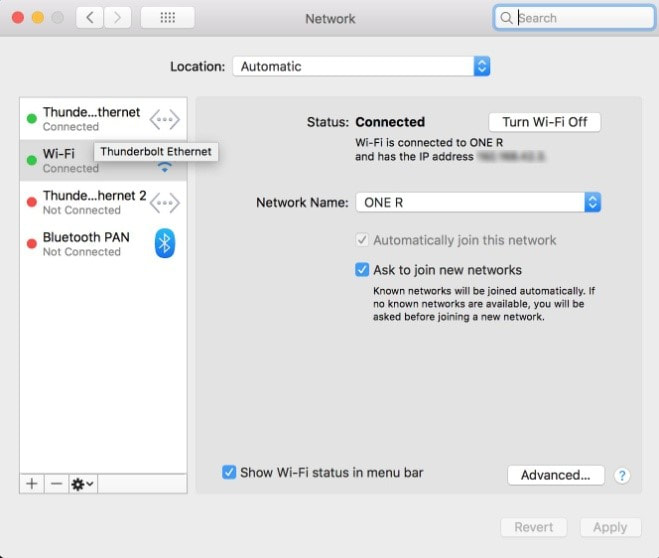
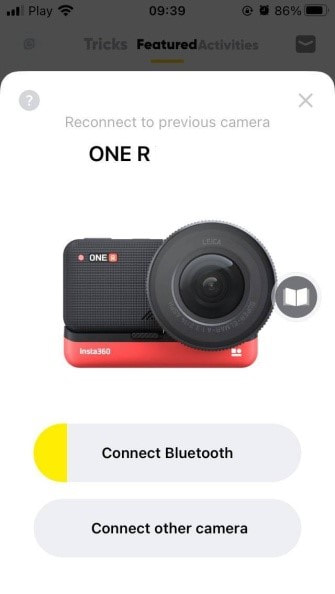
This project consists of 3 main parts: A. Receiving a live 360° video from the Insta360 to OBS B. Receiving Ambisonics audio from the ZM-1microphone to OBS. C. Configuring Facebook for live stream of 360° video with Ambisonics audio A. Receiving a live 360° video from the Insta360 to OBS 1. Turn On the Insta360 camera and connect your computer Wi-Fi to the corresponding Insta360 Wi-Fi network. 2. Simultaneously, connect your computer to your local ethernet using an ethernet cable. On your network preferences you should be connected with Ethernet and Wi-Fi. On step number 4 you will need the IP address for the Insta360 Wi-Fi referred on your network preferences. 3. On your MacOS, open the application Local RTMP server (https://github.com/sallar/mac-local-rtmp-server). This simple application will be used to receive a live stream from the Insta360 camera. It also provides you the local host address for OBS.
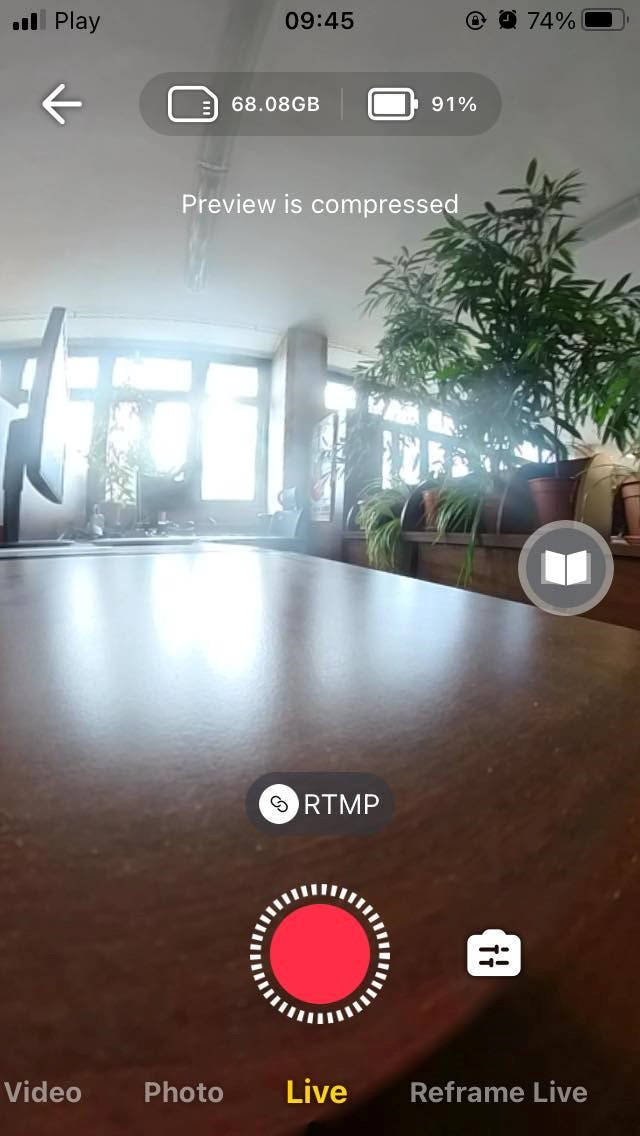
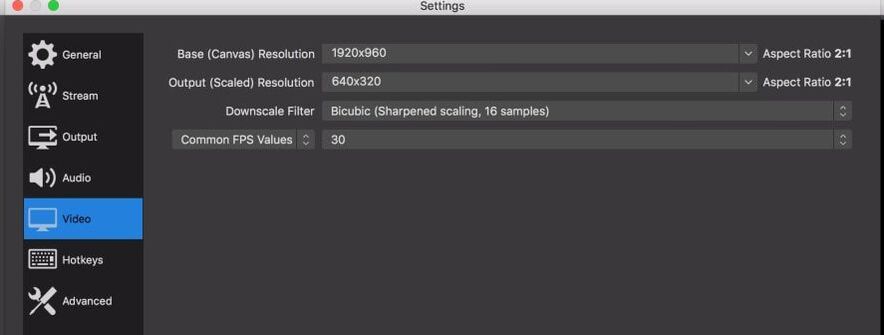
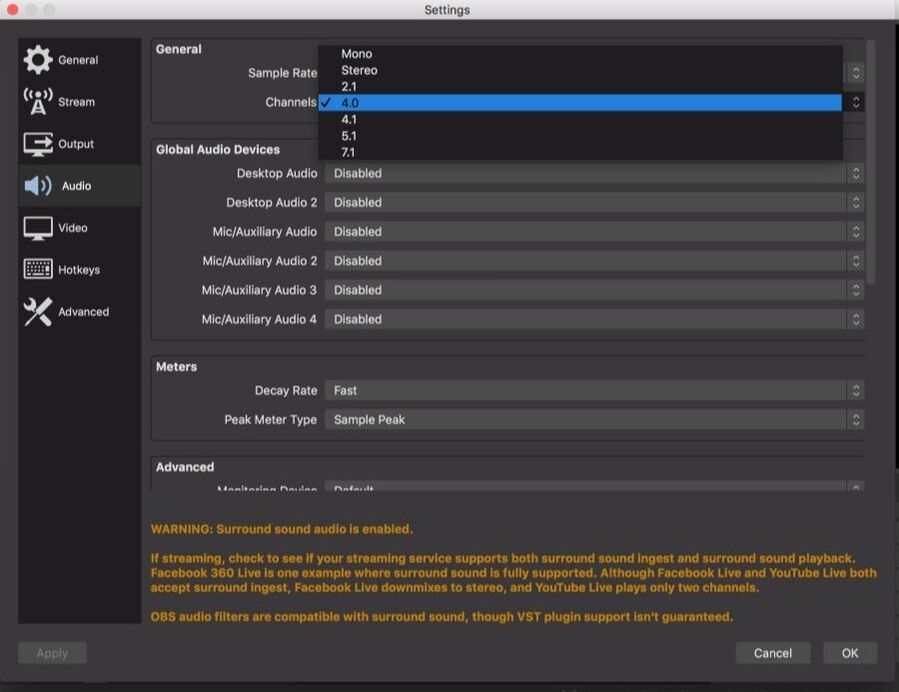
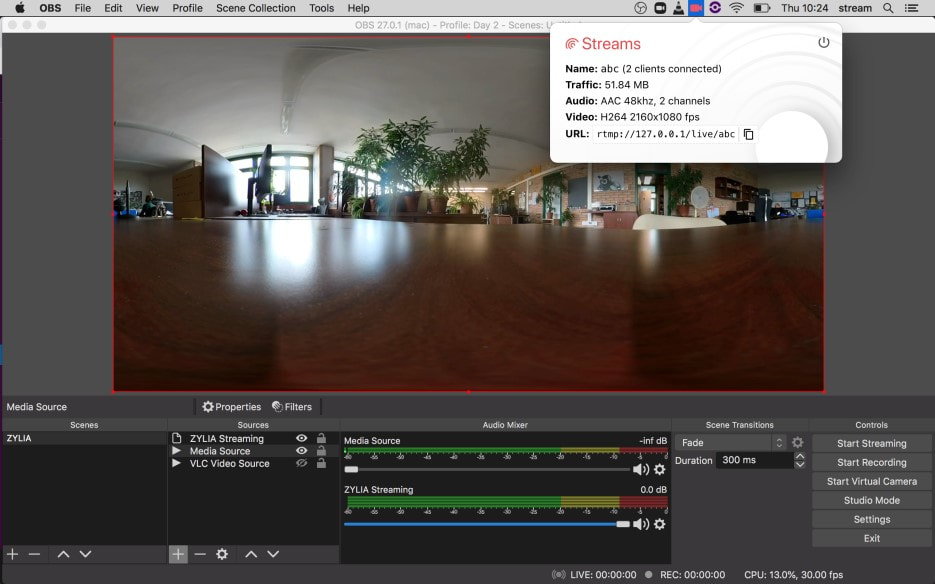
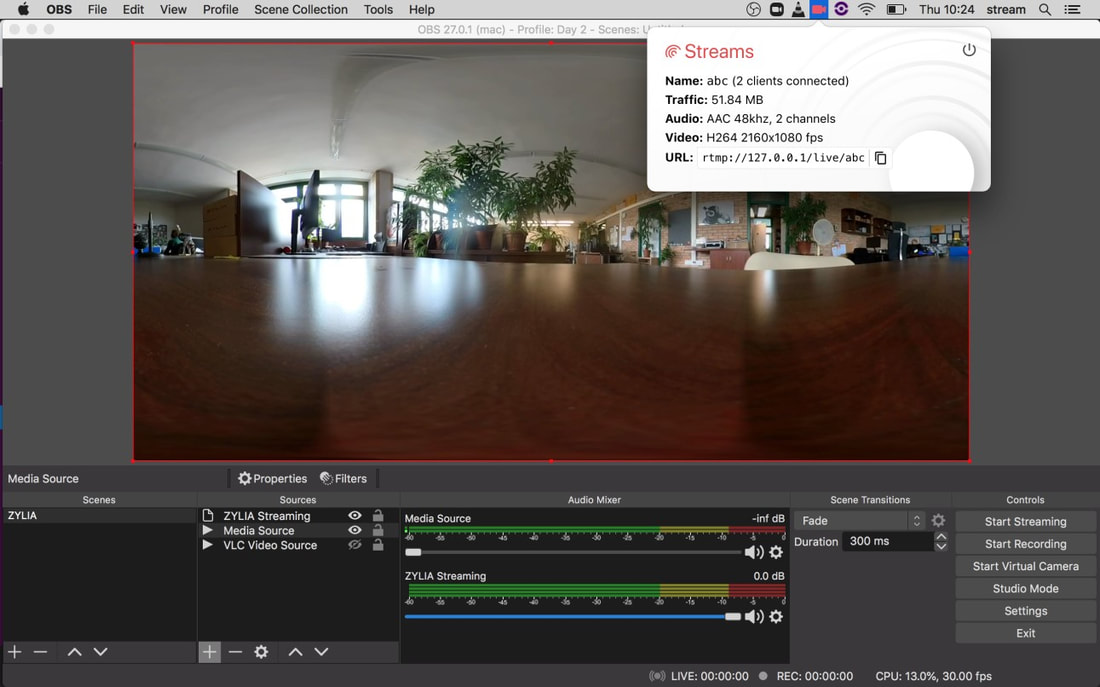
Start streaming from the Insta360. The Local RTMP server application icon should now turn red as an indication of receiving the stream. 5. Open OBS and setup your project:
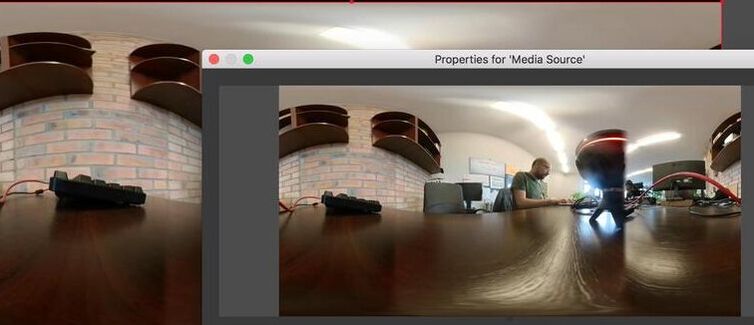
6. To receive the video stream from the Insta360 to OBS:
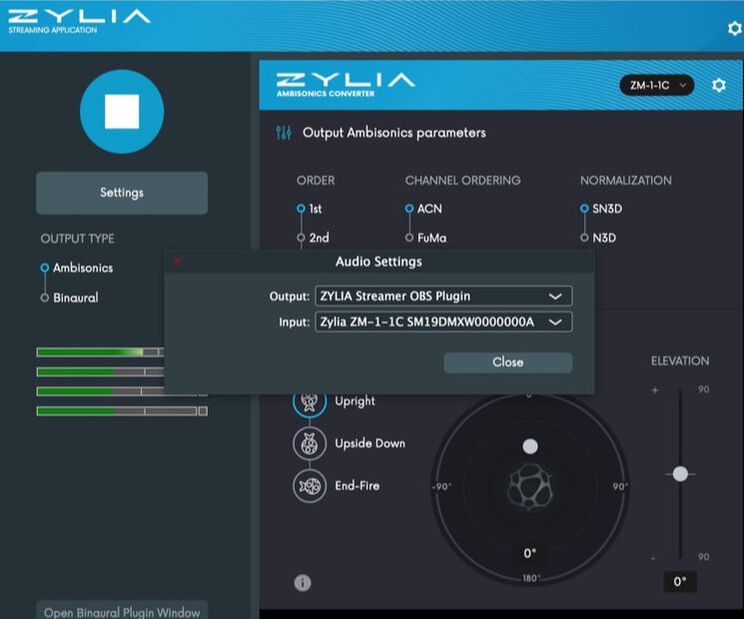
After adding the source, you should be receiving a 360° video from the Insta360 into OBS. B Receiving Ambisonics audio from the ZM-1microphone to OBS. 7. Connect your ZM-1 microphone to your computer. Open ZYLIA Streaming application.
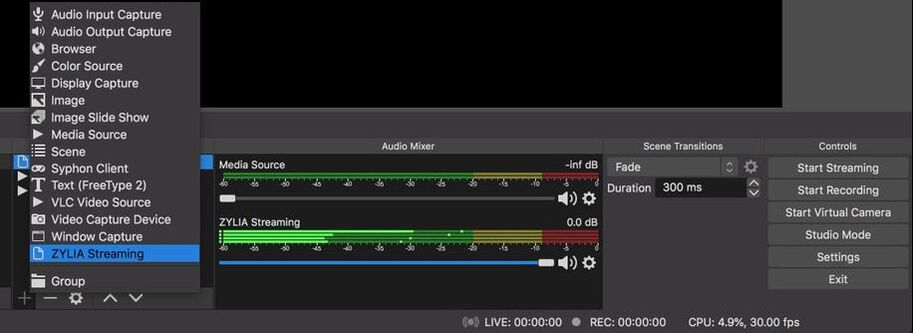
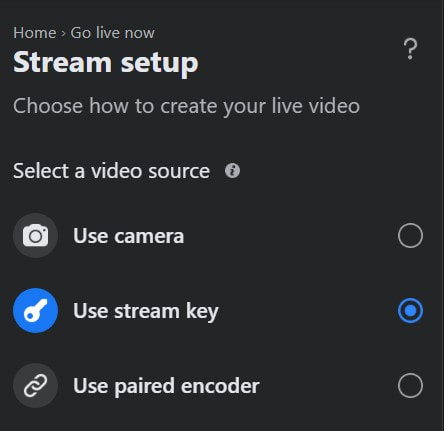
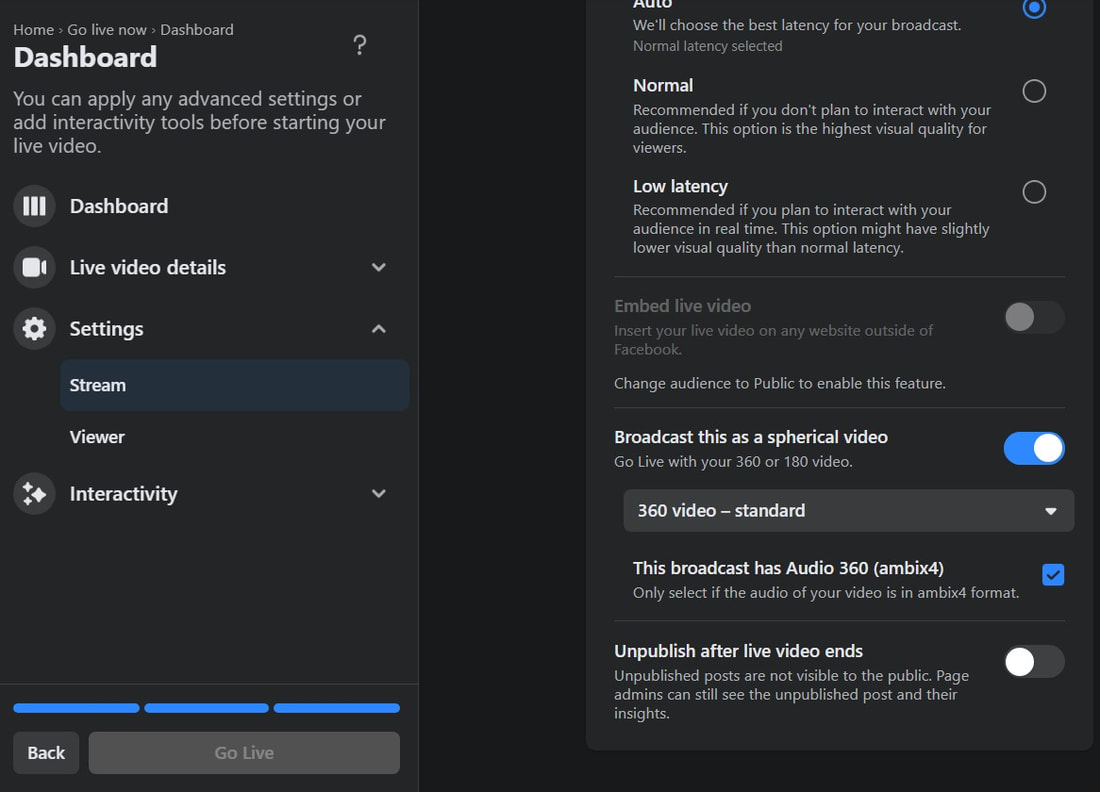
8. In OBS, add source select ZYLIA Streaming application. You are now receiving 1st Order Ambisonics audio (4 channels) and a 360° video into OBS. C Setup Facebook for livestreaming On the Settings – Stream, enable “Broadcast this as a spherical video” and also “This broadcast has Audio 360 (ambix4)”. 10. In OBS press “Start Streaming”. You are now live!
4 Comments
Alex Gandsas MD
2/5/2022 21:31:38
What were you parameters in OBS
Reply
Pedro Firmin
2/7/2022 10:37:14
Thank you Alex,
Reply
Leave a Reply. |
Categories
All
Archives
August 2023
|
|
© Zylia Sp. z o.o., copyright 2018. ALL RIGHTS RESERVED.
|


 RSS Feed
