|
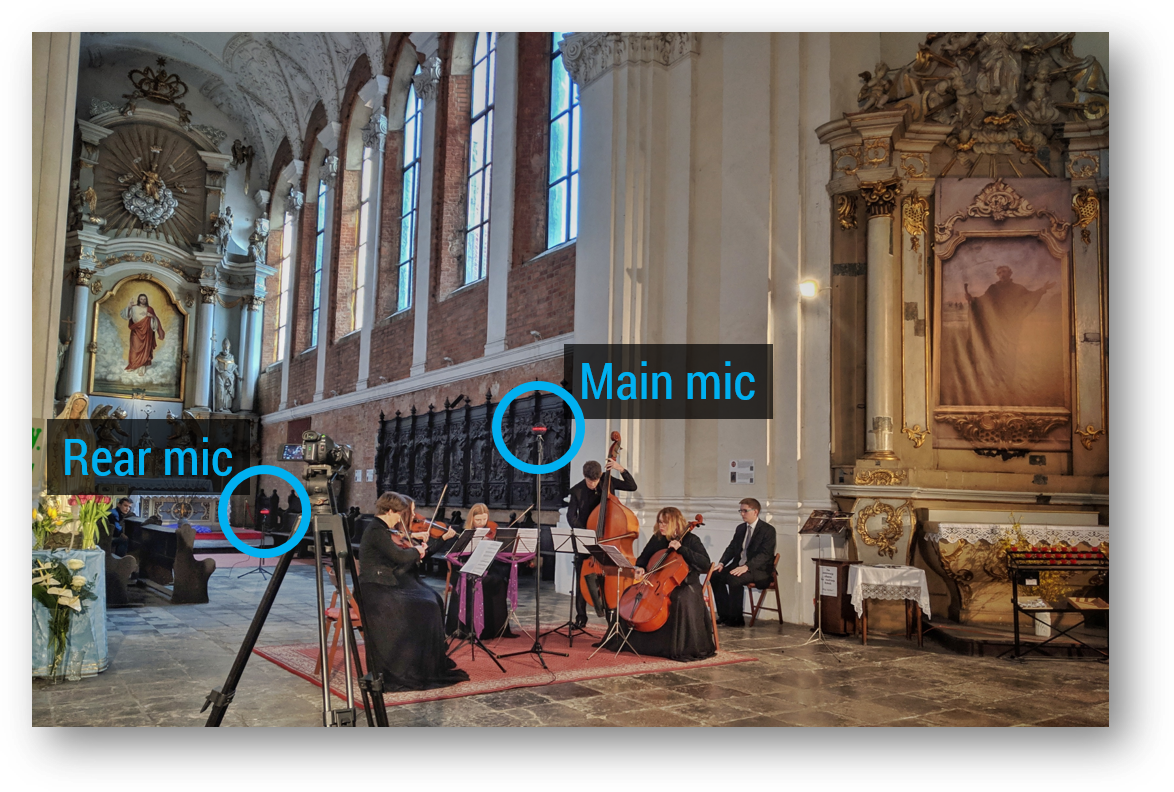
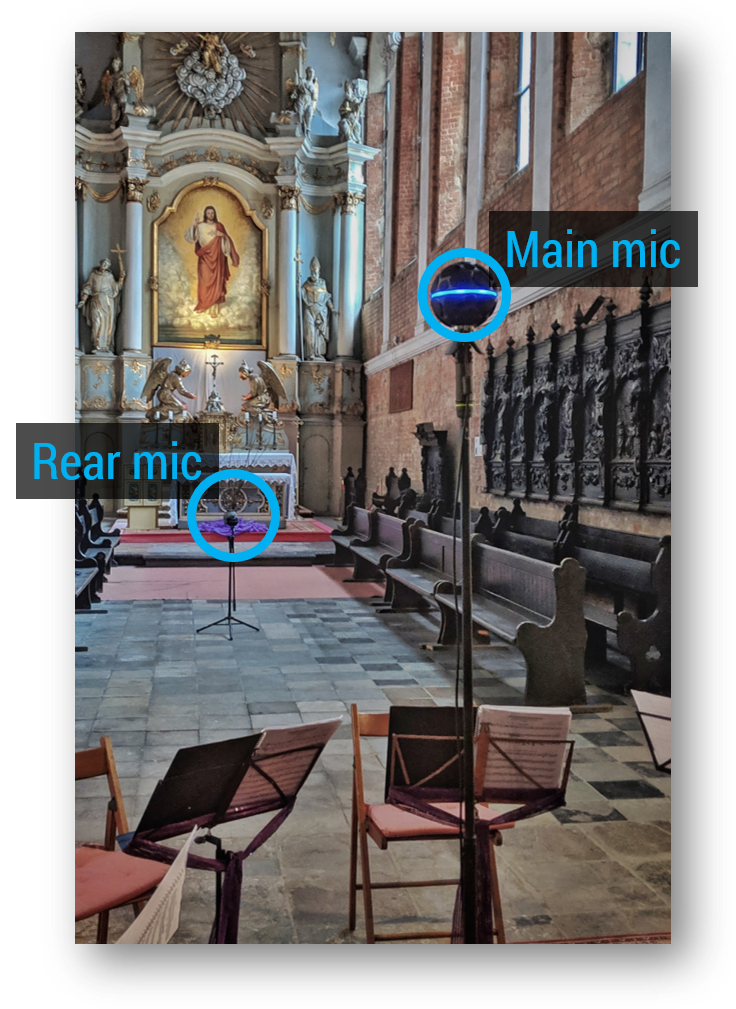
by Eduardo Patricio Earlier this year (2019), during Easter, we recorded a string quintet concert* with 2 ZM-1 microphones. One in front of the ensemble and 1 behind it. Very simple and portable setup with powerful postproduction possibilities! Here’s a quick example of the multi-track possibilities we have from the recordings: Equipment used
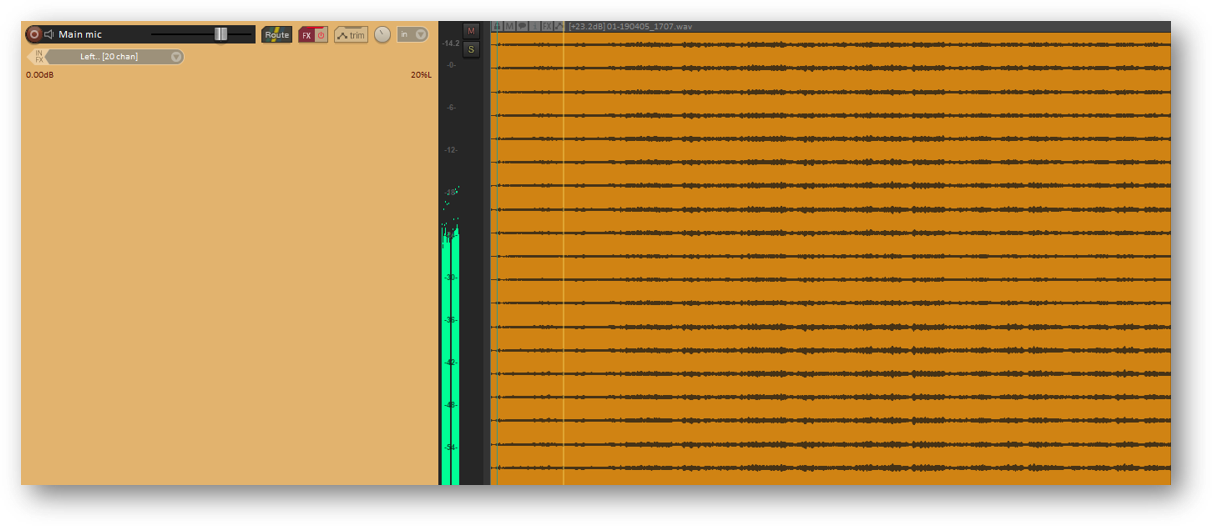
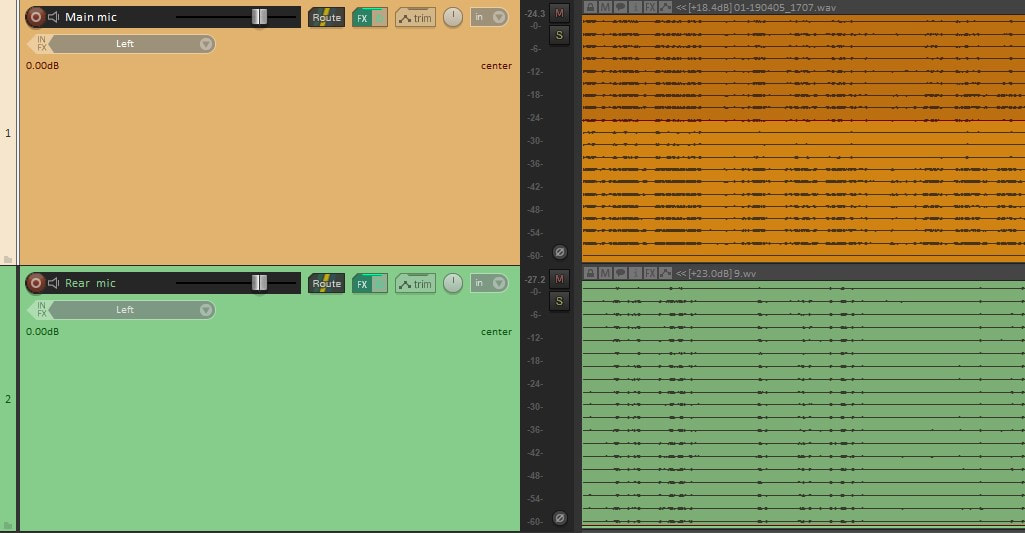
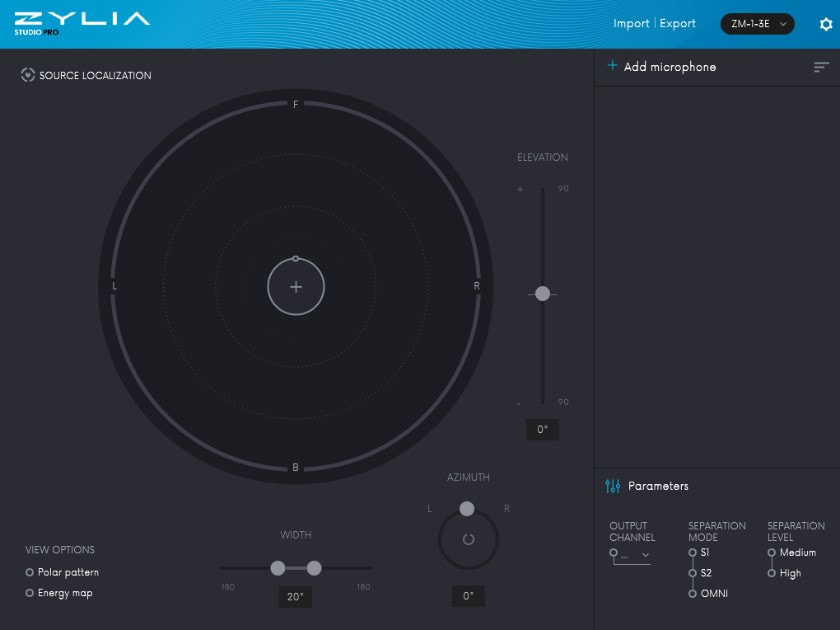
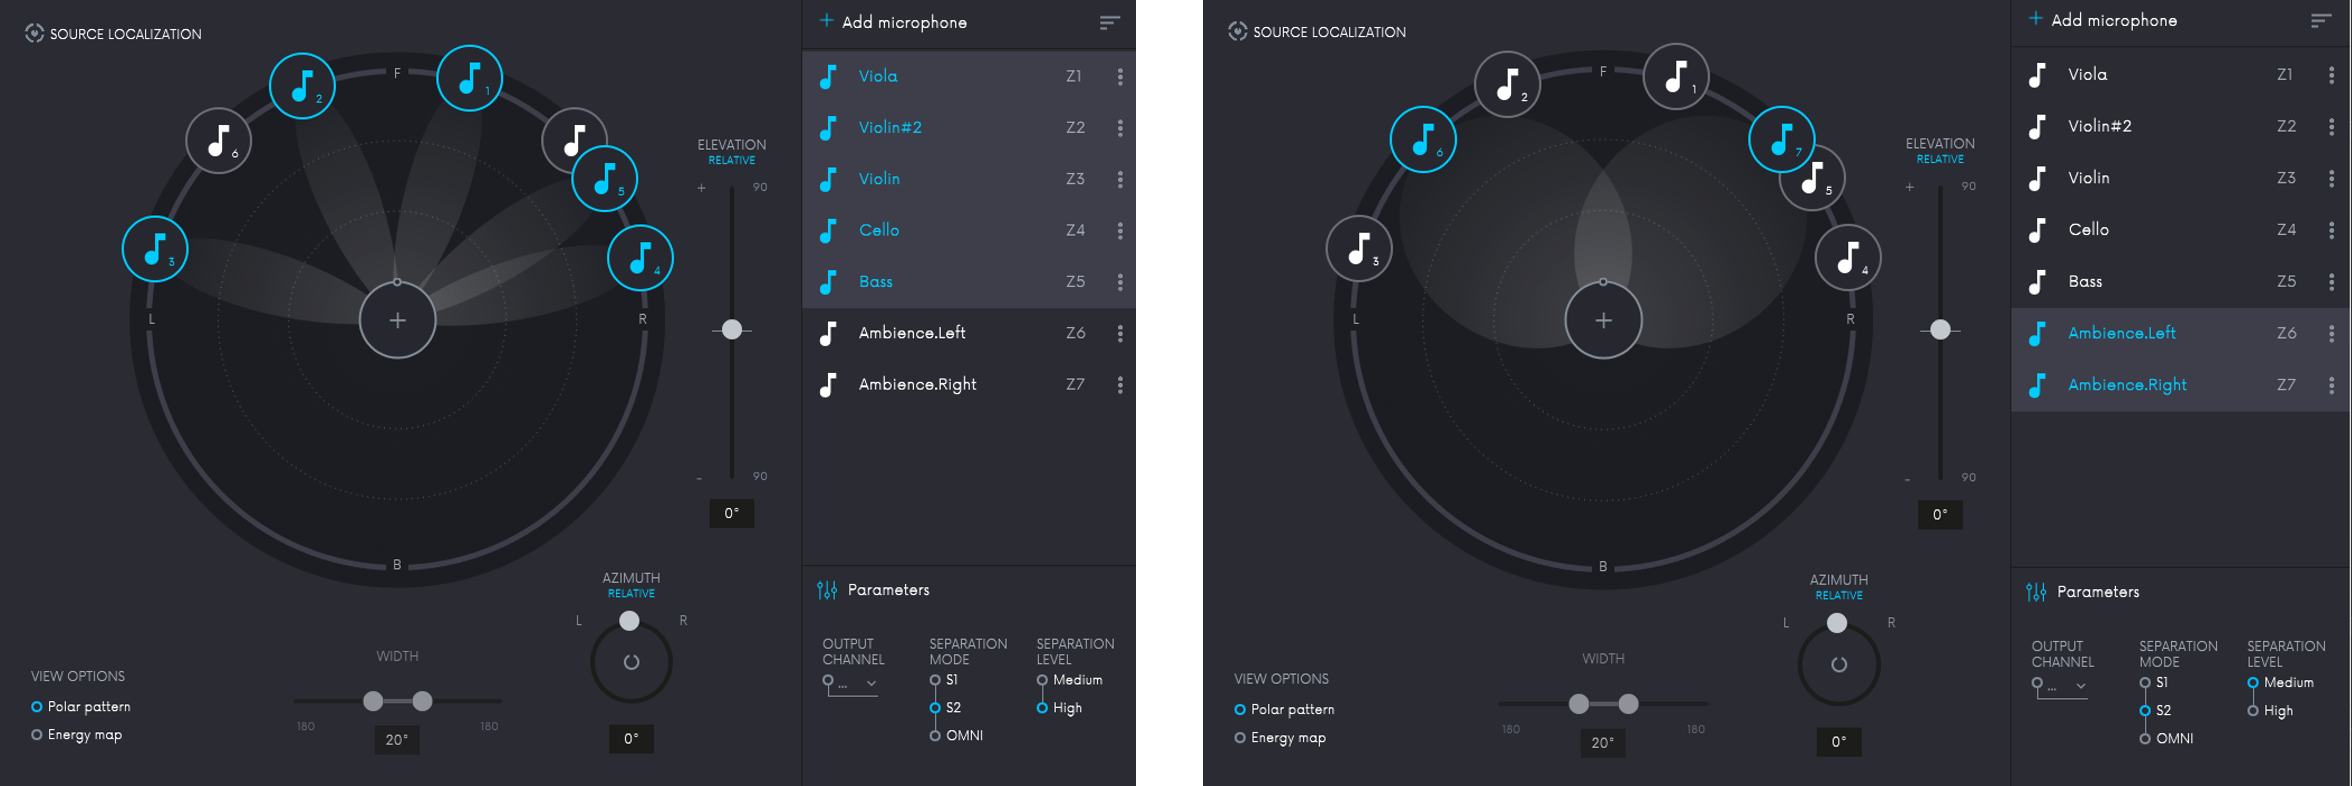
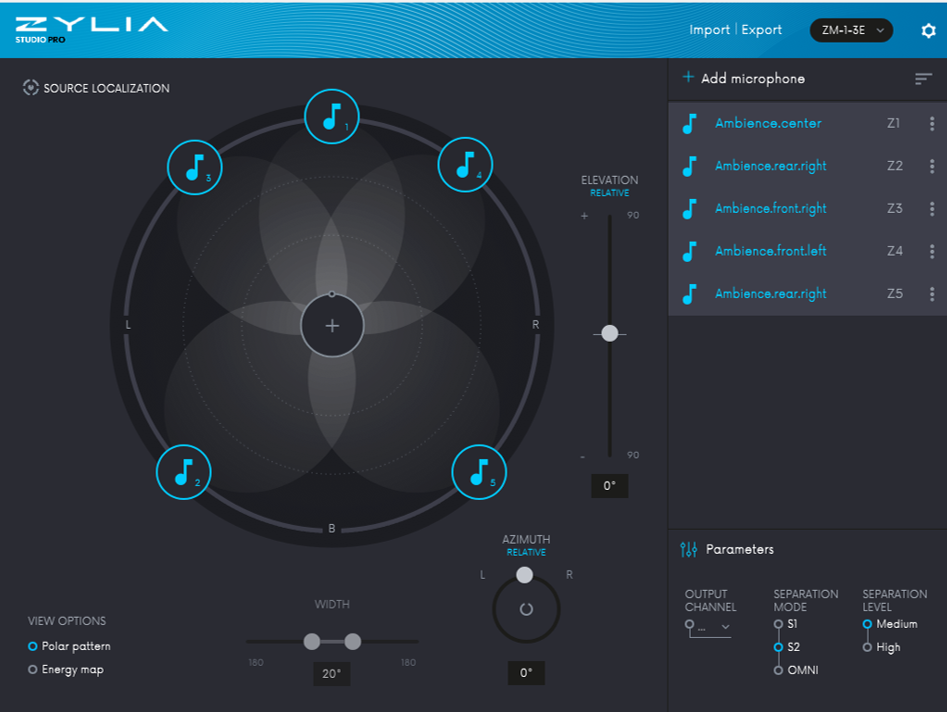
How we did it Using ZM-1 microphones basically allows you to have multi-track recordings from single mics. Here’s what we did for this project in 5 steps. 1. We recorded the 19 channels from each ZM-1 directly onto DAW tracks on each laptop. The result was 2 uncompressed, 24-bit, 48KHz wave files. Resulting multi-channel audio file being played back in Reaper. 2. After the recording, we loaded both multi-channel files onto a single DAW session, onto separate tracks. We synchronized the files manually using a clear transient sound (the classic "clap to sync"). Two 19-channel audio files on 2 DAW tracks. 3. We added ZYLIA Studio PRO plugin to the tracks containing the multi-channel files (one instance of the plugin for each). The plugin converts the recorded information into perfect sound spheres, from which you can extract sounds from any direction. ZYLIA Studio PRO plugin interface before adding any virtual microphones. 4. We added virtual microphones, by clicking on the plus sign in the middle of the circle and defined their direction (in the horizontal and vertical planes) and polar patterns (width). Obs.: That means we basically set up a complex microphone arrangement after the recording, and one that can be tweaked or changed at any moment (!). NOTE: If you don’t know yet how to work with virtual microphones and ZYLIA Studio PRO, you can check the following additional resources: 4A. From the main microphone recordings, 7 virtual microphones were used as seen in the following screen capture: ZYLIA Studio PRO with 7 virtual microphones in place. The virtual microphones Z1 – Z5 were narrow (shotgun-like) ones, pointing at each instrument and using S2 separation mode. Z6 and Z7 form a wide stereo pair, pointing 45˚ up, to capture some of the overall sound and a great deal of reverberant sound. 4B. From the rear microphone recordings, 5 virtual microphones were used as seen in the following screen capture: ZYLIA Studio PRO with 5 virtual microphones in place. Detailed configuration of each virtual microphone: Z1: 0˚ azimuth, 33˚ elevation, 60˚ width; Z2 and Z5 form a stereo pair with a sum of 90˚ azimuth, pointing up (-45˚ elevation), and with 60˚ width; Z3 and Z4 form a stereo pair with a sum of 80˚ azimuth, pointing down (-51˚ elevation), and with 60˚ width. 5. We directed each virtual microphone to individual tracks in our DAW and carried on with a regular basic mixing strategy (leveling, panning and EQing). Section of DAW showing the tracks receiving signals from virtual microphones Z1-Z5 (Main ZM-1 microphone). To sum up
1 Comment
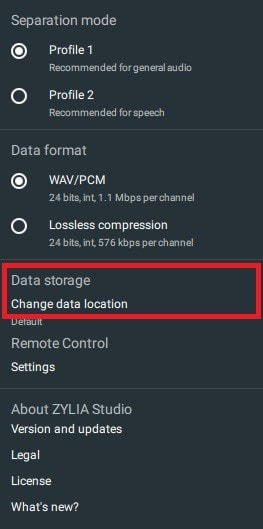
If you would like to move/copy all sessions and recordings from one device to another, first open the ZYLIA Studio directory. The default location is: Windows: "C:/Users/<user_name>/AppData/Local/Zylia/ZYLIA Studio" MacOS: "/Users/<user_name>/Library/Application Support/Zylia/ZYLIA Studio" Copy the folders “calibration” “sessions” and also the file “ZS.sqlite” to a pen drive/ external disk.
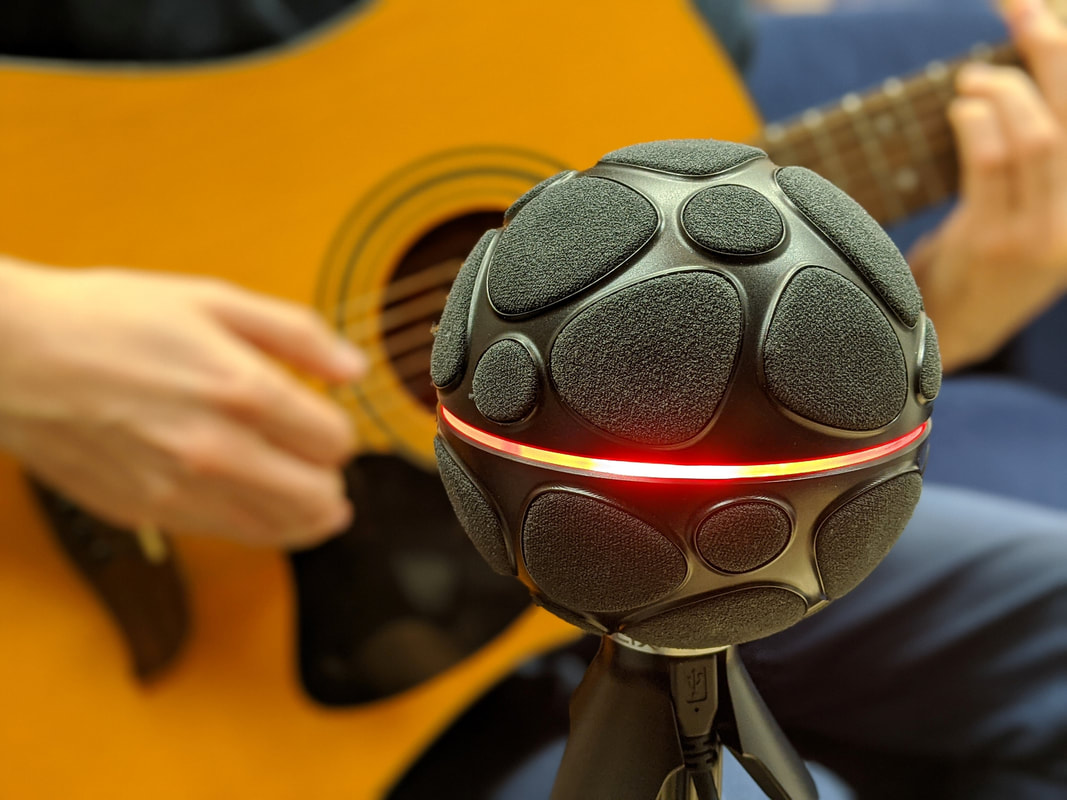
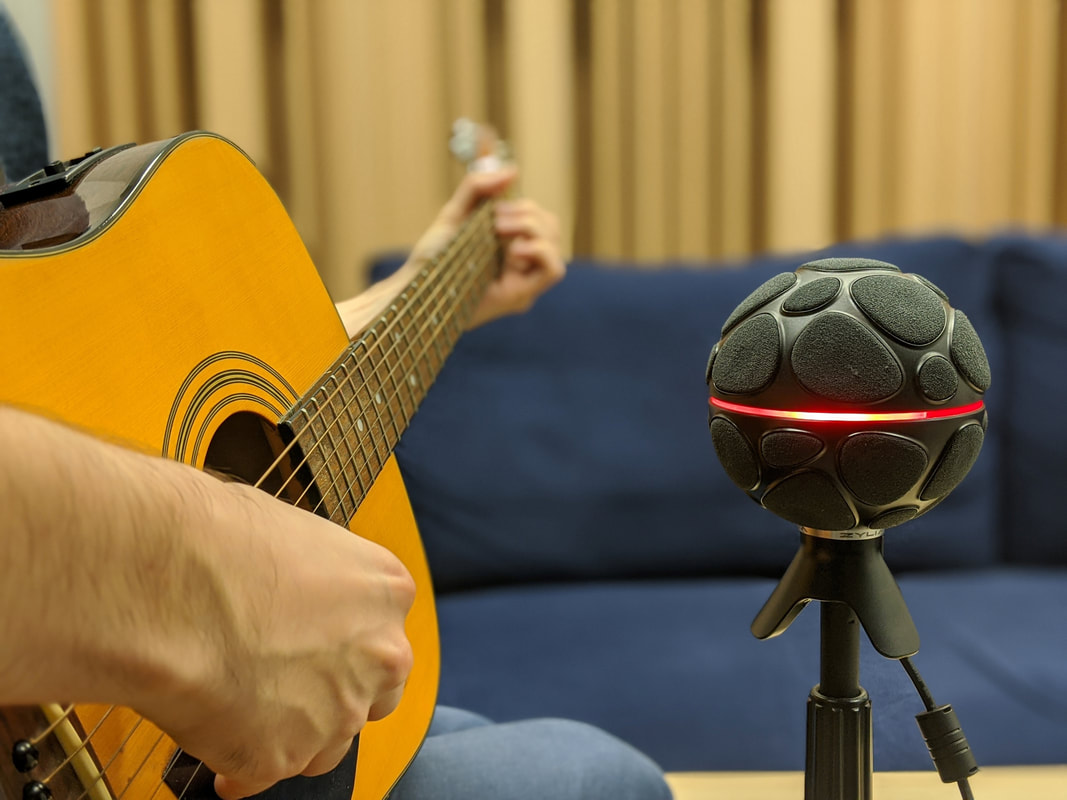
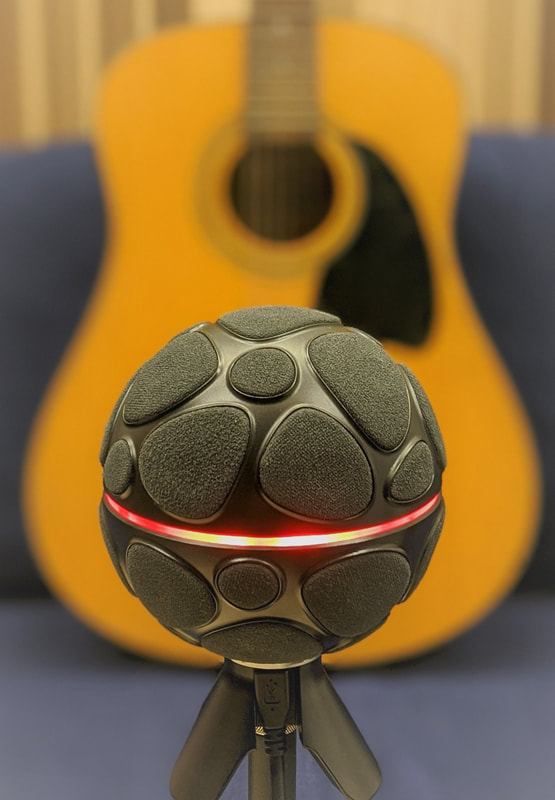
by Pedro Firmino In this article, we will give you an alternative way of recording and coloring your guitar tone using the ZYLIA ZM-1 microphone by taking advantage of multiple channel recording. Please, remember that these are suggestions based on our own experience and might not be suitable for your specific situation. While trying our methods, make sure to listen and adapt to your instrument, environment, and musician. When miking a guitar it’s important to understand that this instrument is not designed to be experienced at close distances making it more challenging to find a balanced positioning for recording, especially if you plan to use the ZM-1 to obtain several channels for posterior mixing. After all, it’s one of the ZM-1 strengths. Here we will guide you to make the most out of the ZM-1 recording abilities. Step 1 Position the ZM-1 between the neck and the sound-hole.
At 25 cm distance, the results were quite flexible to work with, however, if you see clipping happening on the VU meter of ZYLIA Studio, reduce the gain on ZYLIA Control Panel or move the ZM-1 further from the sound source.
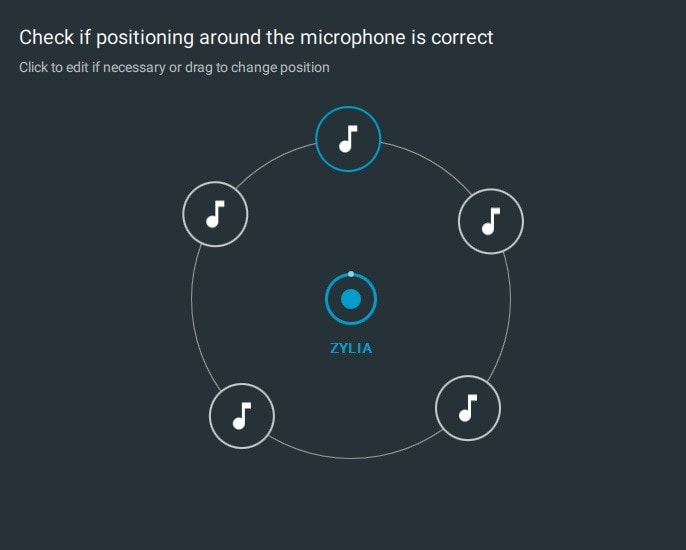
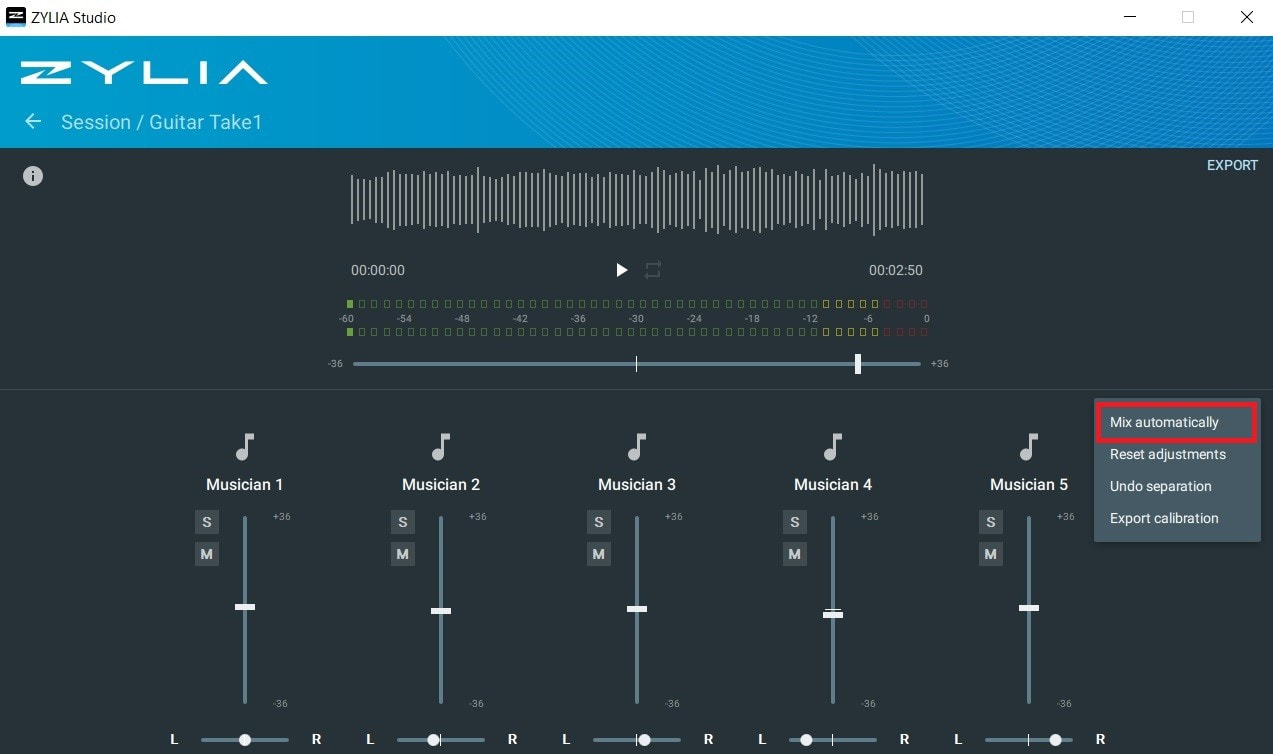
Record your take and take some time to listen to the results. If you’re happy with the tone of the guitar you may proceed to mixing stage, if not here are some options for you: - increasing distance of the ZM-1 and the guitar for more room tone and less presence. - positioning ZM-1 closer to neck, giving you more treble and percussive sounds. - positioning the ZM-1 closer to the soundhole, provides more lower end and less treble. - using another channel of the ZM-1 recordings to add brighter tone to the mix. This last option shows one of the great advantages of recording with the ZM-1, which it will be mentioned next. Step 3 Separate the take and Mix your tone. Using ZYLIA Studio or ZYLIA Studio PRO, you are able to get different tones from your instrument with a single recording due to the multiple channels. It can also be useful if you want to add some reflections from the environment. After Separating the take, try using the Auto-mix feature. The tone resulting of this feature might surprise you, but if that’s not the case you are always able to mix the tone by controlling the different channel parameters in the MIXER window. Are you looking for more low end in your tone? Simply adjust the level of the channel correspondent to the microphone closer to the sound-hole of the guitar (In this example Musician 2). Or perhaps you want more room tone and a wider stereo image of your recording? Increase the levels of the back microphones and apply panning (Musician 4 and 5).
|
Categories
All
Archives
August 2023
|
|
© Zylia Sp. z o.o., copyright 2018. ALL RIGHTS RESERVED.
|


 RSS Feed
