|
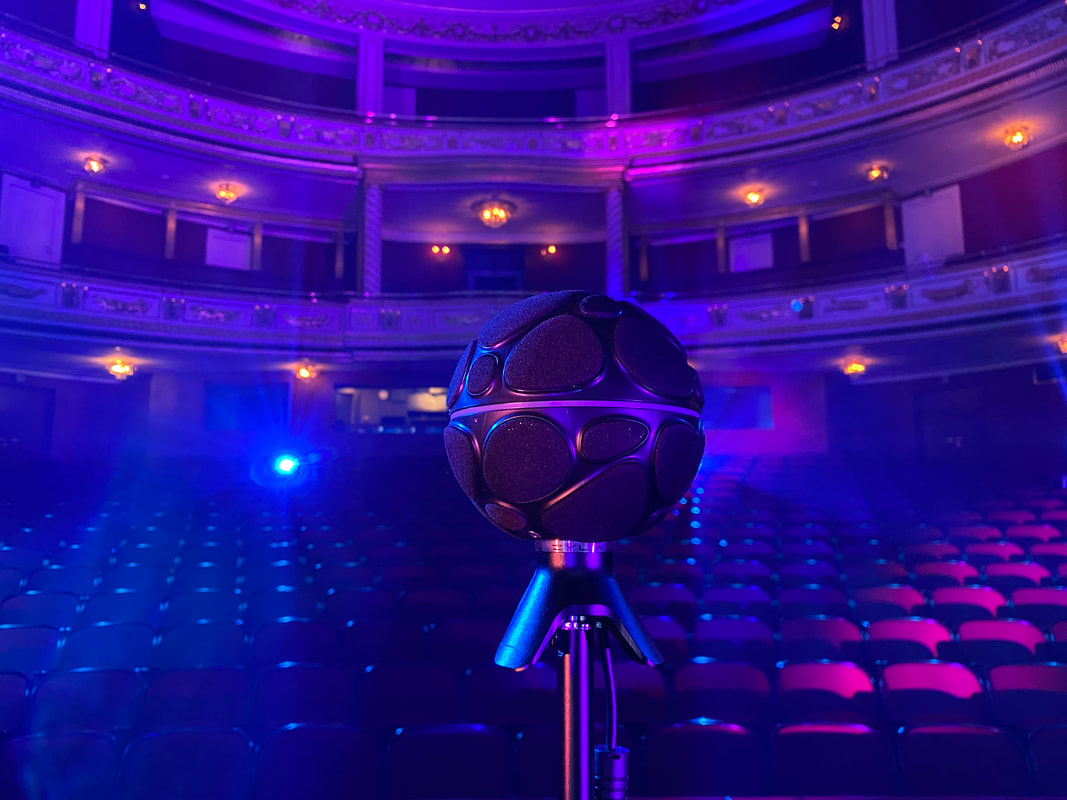
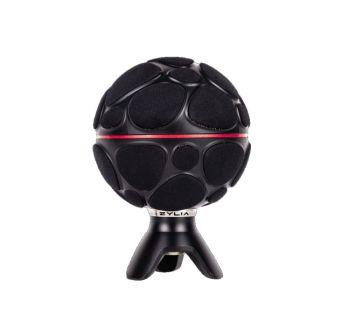
ZYLIA ZM-1 is a 3rd order Ambisonics microphone. That is excellent information if you want to capture and use 3D audio Impulse Responses (IR). In this case, you get a recorded 3rd order Ambisonics IR (3AIR). Below is a short introduction to the recording and using 3AIR with your podcast, film, or game production. Recording of Ambisonics (spatial audio) Impulse Responses What do you need?
The process: 1. Start recording in the ZYLIA Studio application or your favorite DAW. 2. Pop the balloon where you want to have a source. We did this about 1 meter in front of ZM-1. 3. Stop the recording and export the raw 19-channel file. 4. Convert 19 channels A-format to Ambisonics B-format (3AIR) with the ZYLIA Ambisonics Converter plugin. The next step is a convolution of your 3AIR with your mono or multichannel signal to which you would like to add a reverberation effect. Requirments:
nThe process: 1. Create folder named "mcfx" in C://Users/your-name/AppData/Roaming/ (~/Library/ on macOS). 2. Create folder named "convolver_presets" in C://Users/your-name/AppData/Roaming/mcfx (~/Library/mcfx on macOS). 3. Start recording in the ZYLIA Studio application. 4. Pop the balloon in a place where you want to have a source. We did this about 1 meter in front of ZM-1. 5. Stop the recording and export the raw 19-channel file. 6. Open the file in DAW (e.g., Audacity) and process the IR recording in the following way:
8. Export the file from DAW as 19 channel. 9. Open ZYLIA Ambisonics Converter and convert the 19 channel file to 3-rd order Ambisonics with SN3D normalization and ACN channel ordering. 10. Save the file to C://Users/your-name/AppData/Roaming/mcfx/convolver_presets (~/Library/mcfx/colvolver_presets on macOS). In case you want to apply 3AIR to a mono file:
# in out gain delay offset length chan file # --------------------------------------------------------------------- # /impulse/read 1 1 0.1 0 0 IR_length 1 16_channel_IR.wav /impulse/read 1 2 0.1 0 0 IR_length 2 16_channel_IR.wav /impulse/read 1 3 0.1 0 0 IR_length 3 16_channel_IR.wav /impulse/read 1 4 0.1 0 0 IR_length 4 16_channel_IR.wav /impulse/read 1 5 0.1 0 0 IR_length 5 16_channel_IR.wav /impulse/read 1 6 0.1 0 0 IR_length 6 16_channel_IR.wav /impulse/read 1 7 0.1 0 0 IR_length 7 16_channel_IR.wav /impulse/read 1 8 0.1 0 0 IR_length 8 16_channel_IR.wav /impulse/read 1 9 0.1 0 0 IR_length 9 16_channel_IR.wav /impulse/read 1 10 0.1 0 0 IR_length 10 16_channel_IR.wav /impulse/read 1 11 0.1 0 0 IR_length 11 16_channel_IR.wav /impulse/read 1 12 0.1 0 0 IR_length 12 16_channel_IR.wav /impulse/read 1 13 0.1 0 0 IR_length 13 16_channel_IR.wav /impulse/read 1 14 0.1 0 0 IR_length 14 16_channel_IR.wav /impulse/read 1 15 0.1 0 0 IR_length 15 16_channel_IR.wav /impulse/read 1 16 0.1 0 0 IR_length 16 16_channel_IR.wav # -----------------------end of file -----------------------------------
In case you want to apply IR to 19 channel file:
# in out gain delay offset length chan file # --------------------------------------------------------------------- # /impulse/read 1 1 0.1 0 0 IR_length 1 16_channel_IR.wav /impulse/read 2 2 0.1 0 0 IR_length 2 16_channel_IR.wav /impulse/read 3 3 0.1 0 0 IR_length 3 16_channel_IR.wav /impulse/read 4 4 0.1 0 0 IR_length 4 16_channel_IR.wav /impulse/read 5 5 0.1 0 0 IR_length 5 16_channel_IR.wav /impulse/read 6 6 0.1 0 0 IR_length 6 16_channel_IR.wav /impulse/read 7 7 0.1 0 0 IR_length 7 16_channel_IR.wav /impulse/read 8 8 0.1 0 0 IR_length 8 16_channel_IR.wav /impulse/read 9 9 0.1 0 0 IR_length 9 16_channel_IR.wav /impulse/read 10 10 0.1 0 0 IR_length 10 16_channel_IR.wav /impulse/read 11 11 0.1 0 0 IR_length 11 16_channel_IR.wav /impulse/read 12 12 0.1 0 0 IR_length 12 16_channel_IR.wav /impulse/read 13 13 0.1 0 0 IR_length 13 16_channel_IR.wav /impulse/read 14 14 0.1 0 0 IR_length 14 16_channel_IR.wav /impulse/read 15 15 0.1 0 0 IR_length 15 16_channel_IR.wav /impulse/read 16 16 0.1 0 0 IR_length 16 16_channel_IR.wav # -----------------------end of file -----------------------------------
The theory behind Ambisonics Impulse Response measurement A more detailed description you can find in here: These articles go deeper into the technics of recording an impulse response. Raw Impulse Response recorded with ZM-1 can be converted to B-format (Ambisonics) and used to add reverbs in Ambisonics encoding. Please share your work on Record with Zylia Facebook page!
4 Comments
|
Categories
All
Archives
August 2023
|
|
© Zylia Sp. z o.o., copyright 2018. ALL RIGHTS RESERVED.
|


 RSS Feed
