|
Author: Łukasz Kurzawski The main aim of the test was to make a comparison of traditional multitrack recording techniques with recording using the ZYLIA ZM-1 microphone. I compared the both approaches in terms of offered recording capabilities, tone and sound quality. I have chosen acoustically challenging environment – music ensemble recorded in a church (see the Test details box for more details on this). The traditional recording setup For this type of recordings I usually use a traditional recording setup. It consists of 8 small diaphragm condenser microphones (4 stereo pairs).
You can check the result of the recording with the traditional setup by playing back the file Church_traditional_setup.wav, Samplitude screenshot from the recording is presented below (Fig. 1). It presents well the balance between the microphones: the first two tracks are the main microphones which dominate the overall mix (in red). 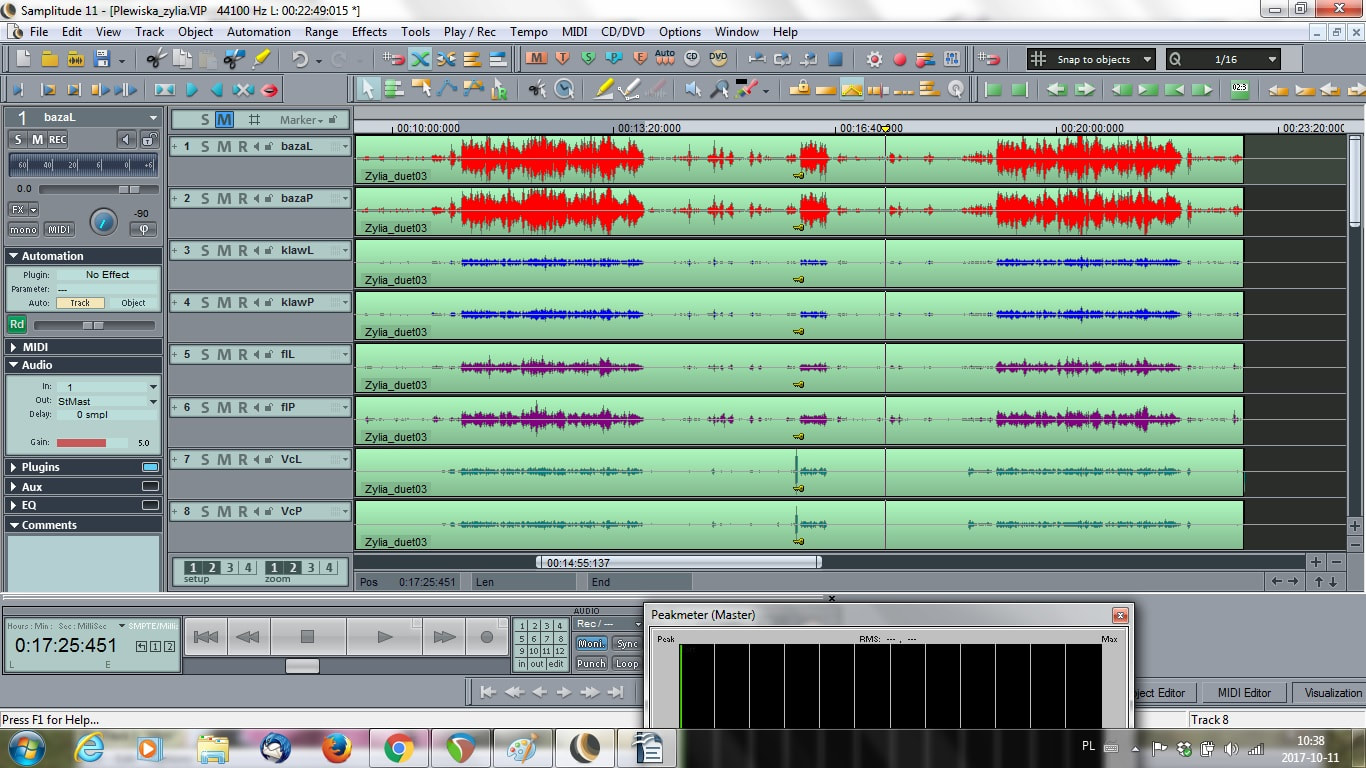 Fig. 1 Samplitude screenshot. ZYLIA microphone in the middle The whole ensemble was recorded also simultaneously with the ZYLIA ZM-1 microphone. The microphone setup was very easy – just one microphone, one stand and one USB cable plugged into the computer. The ZM-1 was set in the middle of the ensemble – very close to the stand of the main stereo pair (approx. 1 meter away from all musicians). See the picture below as a reference (Fig. 2). 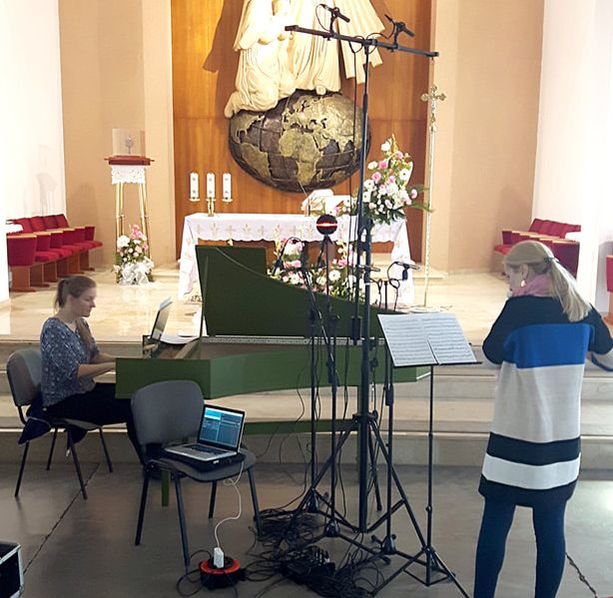 Fig. 2 Ensemble recording. I tested two heights for the microphone 1.7 m and 2.15 m. The stereo mixes are stored in the files Church_Zylia_170cm.wav and Church_Zylia_215cm.wav, respectively. The resulting stereo mix from the ZYLIA microphone was good and on par with the recording using a traditional setup. I found that the height of 1.7m for the microphone was optimal for this recording. In this setup the aisle of the ZM-1 was closer to the sound sources. The height of 2.15m gave worse results in terms of tone and spatial feeling. This was interesting because in a traditional setup you can expect a better spatial feeling when putting the stereo pair higher. Magic in ZYLIA Studio PRO To be honest before the tests I was really sceptical about the tone and spatial effect of recording with ZYLIA but the end results surpassed my expectations and opened my mind for completely new recording capabilities. The recording process with ZM-1 was very straightforward and quick to setup but the whole fun and magic really started when I launched the ZYLIA Studio PRO VST plugin within Reaper. It is really incredible what you can do in the post production with ZYLIA Studio PRO. I started by creating 3 virtual microphones that were pointing at the locations of the instruments: Z1 – flute, Z2 – cello, and Z3 – harpsichord. See the below screenshot for the setup of virtual microphones (Fig. 3). 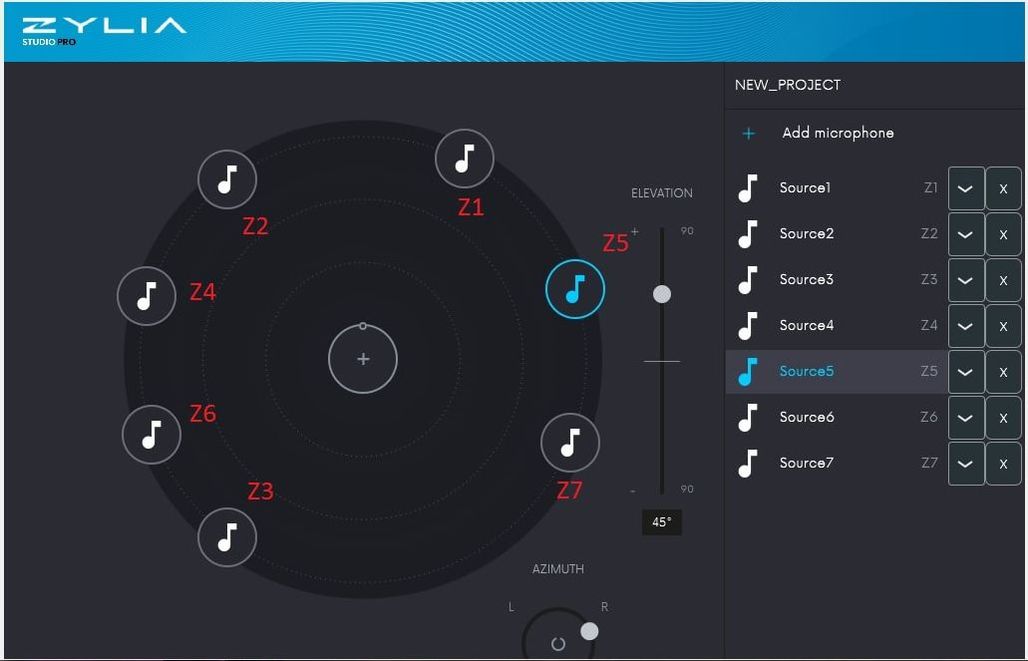 Fig.3 ZYLIA Studio PRO, VST plugin. After that I have added an extra stereo pair of virtual microphones Z4 and Z5. It appeared that this pair gave an excellent result in terms of tone and panorama effect. It is really incredible that you can change the wideness of this stereo pair and its position in both horizontal and vertical pane. In this given recording setup the cello and the harpsichord are placed naturally lower than the flute, so by changing the elevation parameter of the virtual microphones you can be more selective on each instrument. An interesting effect was to change the aim of the Z4 and Z5 pair in the vertical pane by pointing it up 45 degrees. This setting resulted in a much deeper spatial effect without losing the detail of each instrument (this setting was used in the final mix). With such setup of Z4 and Z5 I was missing a better exposition of the harpsichord so I added a bit more of the Z3 (harpsichord virtual mic). The end result was a very good sounding mix – the best I have managed to create from this recording session (file Church_Zylia_VST_Z4Z5Z3.wav). As a final touch I tried to add more space to the recording to reflect great acoustics of the church. In order to do that I have created another stereo pair of virtual mics Z6 and Z7 which was aimed at the space without sound sources. In this setting I missed a little bit of flute so I have added more of the Z1 (flute virtual mic) to the mix. The effect is recorded in file Church_Zylia_VST_Z6Z7Z1.wav. All the above mixes were made using the recording from the ZM-1 placed at the height of 1.7 m. Setting it higher at 2.15 m limits a bit the possibilities of changing the balance and space of the recording. My personal view Recording using ZYLIA microphone really changed my thinking about music recording. Using the mic and the plugin I have access to almost infinite number of additional virtual microphones on any side of the “magic ball”. On top of that I can point virtual microphones or stereo pairs up and down changing their elevation – this opened my mind in a completely new “vertical” way. These capabilities offer great flexibility and many extra options during post-production. In addition the ZYLIA ZM-1 can fix microphone placement mistakes or mask bad acoustic conditions of the recording venue. Something that is currently not possible, or not so easy, using traditional methods.
Overall I am very satisfied with the recordings and final mixes achieved using ZYLIA. The ZM-1 microphone together with the ZYLIA Studio PRO VST plugin opens up a whole new exciting range of opportunities for recording engineers and audio creators. What is really important is that you can do a lot of modifications in the post-production. As a sound designer you can decide on the spatial effect, the tone and balance of the instruments after the recording is made from the comfort of your studio by listening to the effects of your work in good listening conditions. The creators of the mic already announced addition of new options to the software like the possibility to change the width and characteristic of individual virtual microphones. This will give complete control over the recording/mixing process into the hands of sound designer and will open endless possibilities. Now it is only up to you how you are going to use them...
1 Comment
By Łukasz Januszkiewicz
|
|
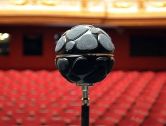
We used:
|
|
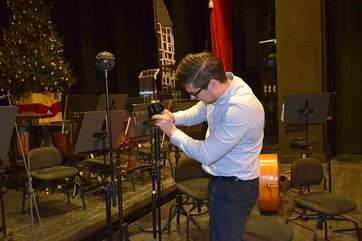
Step two - On The Stage
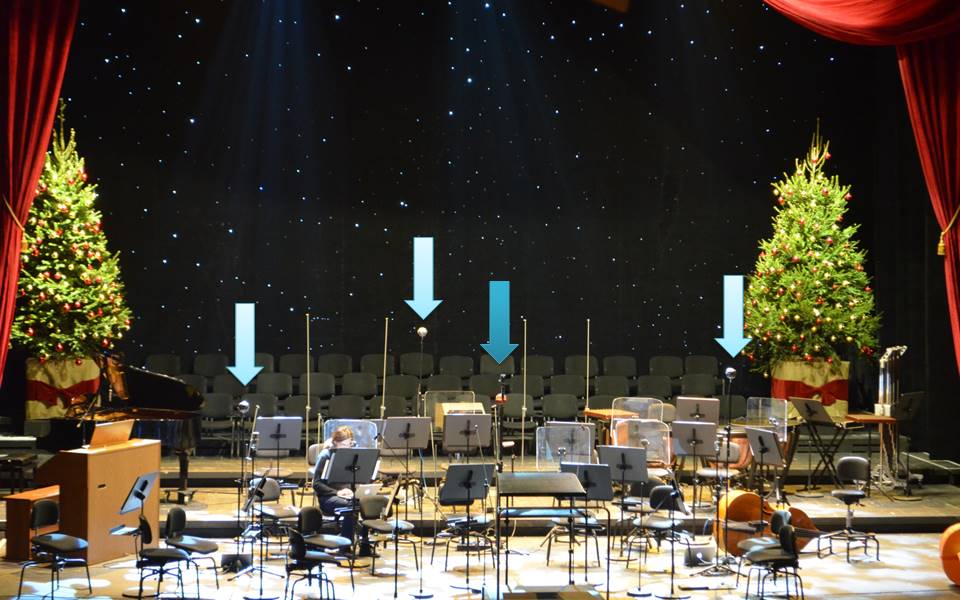
Both camera and main ZM-1 were located in the middle of the orchestra, in the line with string instruments.
|
|
|
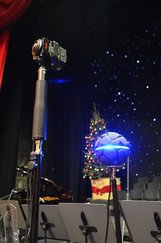
- Microphone placement.
The main ZM-1 microphone was positioned approximately 20 cm below the camera.
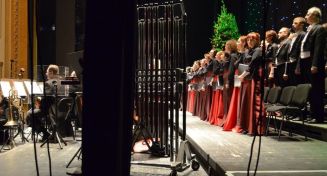
Backup ZM-1’s were positioned on the right and on the left side of the main ZM-1 (distance of 4-5 meters). There was also one mic just right in front of the choir.
- The final setup
Recordings made with 6DOF Development Kit by Zylia
Read more ...
Step Three – Recording our perfect 360 movie
|
|
Step Four - Video And Audio Post-processing
*At this moment YouTube 360 supports only 1st order Ambisonics audio.
360 movie with 3D sound - The final effect
Video will be available soon.
How to turn a room into a recording studio?
Categories
All
360 Recording
6DOF
Ambisonics
Good Reading
How To Posts
Impulse Response
Interviews
Live Stream
Product Review
Recording
Software Releases
Tutorials
Archives
August 2023
July 2023
June 2023
May 2023
February 2023
November 2022
October 2022
July 2022
May 2022
February 2022
January 2022
August 2021
July 2021
May 2021
April 2021
March 2021
January 2021
December 2020
November 2020
October 2020
September 2020
August 2020
July 2020
June 2020
April 2020
March 2020
February 2020
January 2020
December 2019
November 2019
October 2019
September 2019
August 2019
July 2019
June 2019
May 2019
April 2019
March 2019
January 2019
December 2018
October 2018
September 2018
June 2018
May 2018
April 2018
March 2018
February 2018
January 2018
December 2017
October 2017
September 2017
August 2017
July 2017
June 2017
May 2017
March 2017
February 2017
January 2017
December 2016
November 2016
October 2016
 RSS Feed